Filters
Filters can be applied permanently to a view, allowing an administrator to specify the subset of records that should be displayed. This is often for convenience and to create more useful systems. For example, if you have a database of suppliers, you may want to create views showing those which are approved, those which aren’t, those which are local etc. Each view would have a different set of filters applied.
Remember people can apply additional ‘ad-hoc’ or temporary filters to a view at any time using the filter boxes at the top of the screen, so it may not be necessary to create filtered views for every eventuality.
A filter can act on any field or calculation in the view, as well as on any in joined tables or views.
Multiple filters act like they have AND between them, i.e. they are applied additively. If you wish to apply a filters with OR between them, or if you wish to apply a filter on the reult of the comparison of fields, then simply create the relevant calculation. For example, if you added two filters to a suppliers view
status equals approved and status equals pending
then you would get no records showing - a status can’t be both one thing and another. However if you created a boolean calculation ‘pending or approved’, with definition
{status} like 'approved' or {status} like 'pending'
you could then add a filter on that calculation
pending or approved equals true
Adding a filter
- Open the view you want to edit
- Toggle development mode on and click the big pencil at the top left of the screen
- Under filters, choose a type, give it a name and press Add
There are 26 types of filter to choose from, from the simple ’equals’ and ’not equal to’, to more complex pattern matching using regular expressions.
Some filters apply to multiple data types, others only to specific types. For example, ’newer than X days ago’ only applies to date fields.
Once you’ve added a filter, you’ll be able to type in a description for it. If no description is entered, the system will automatically generate one, which you’ll be able to see.
This description is shown to users as help in particular circumstances, e.g. when the view is used as a chaser, so it’s a good idea to check it makes sense.
Including blank values
Once a filter has been created, when you hover over it you’ll see an option to tick ‘or is blank’. This is useful to ensure blank values aren’t excluded by your filter, which they typically would be otherwise.
For example, imaging you’re setting up an email notification workflow to send a notification to people once a week of any outstanding tasks. You’d likely need two filters, the first to find any tasks with an ‘outstanding’ status and the second to only include tasks for which no notifications have been sent within the last 7 days.
For that second filter, you would set it up as
'last notified' is more than 7 days ago
However, as it stands, that would exclude any tasks which have never had a notification sent for them, i.e. where the last notified field is blank.
To include those, just tick ‘or is blank’ after creating the filter.
Indexes
When you start working with a certain amount of data, say tables grow to include hundreds of thousands or millions of rows, then one thing that can drastically speed up your views is adding an index on a filtered field.
An index, as the name implies, is just like an index for a phrase in a book. It’s a very quick way of finding something without having to read through all of the data.
Database indexes are a bit more flexible than book indexes. For example, if you have an index on a date field, it can speed up views which have a filter ‘my date field is newer than 6 months old’ or similar.
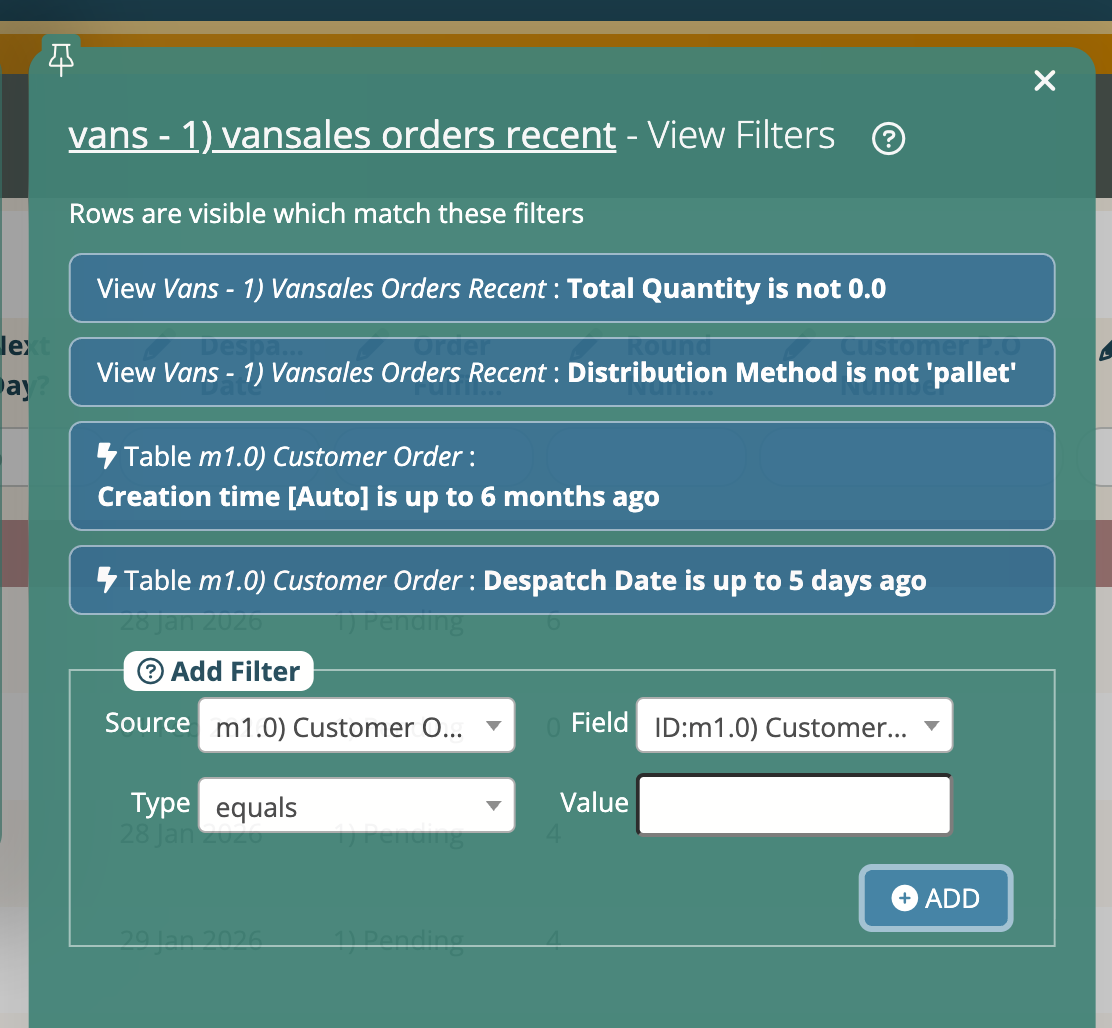
Agilebase will show any indexed fields by prefixing them with a lightning bolt symbol, when showing the filter, or selecting a field to filter on.
To add an index, you will currently need to contact your support representative, we will be able to do that for you. In some cases, Agilebase may display a message suggesting an index addition and prompting you to do that.
Note that even if a field is indexed, that doesn’t guarantee the index will be used and the view will speed up. For example, for certain filters, an index can’t be used unless specifically designed for that case. An index on a text field typically won’t help if you want to search for text containing or ending with a certain value for example, only for filters on exact values or possibly those starting with something. See performance optimisation to learn about the general topic of making a system faster.
Disabling and removing filters
Crossing off a filter will disable it. Crossing it off again will completely remove it.
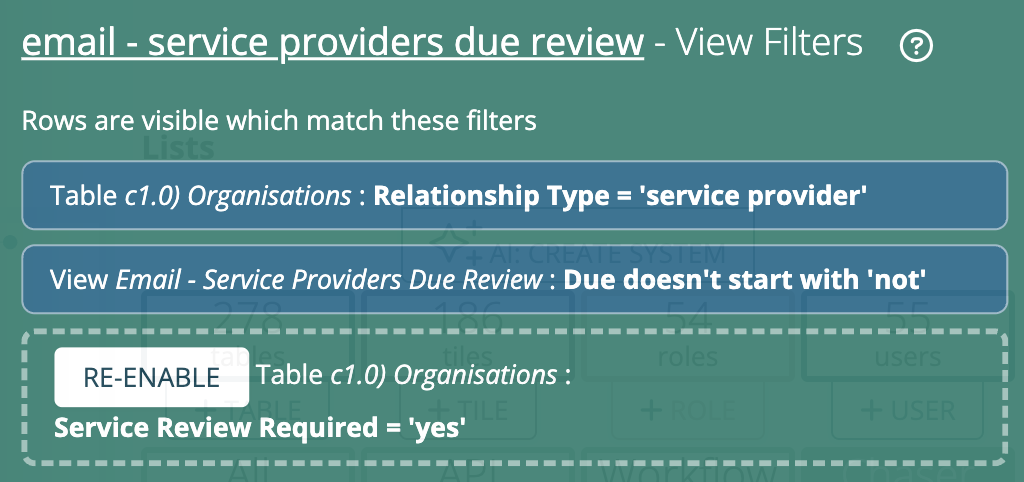
Disabling filters can be useful when you want to quickly check its effect - you can toggle it on and off. A disabled filter can be re-enabled with the button as shown:
Feedback
Was this page helpful?
Glad to hear it! Please tell us how we can improve.
Sorry to hear that. Please tell us how we can improve.