Adding, editing and removing
A table is a store of data of a particular type e.g. a company, contact, product or invoice. Tables are the fundamental building blocks of an Agilebase application.
Using AI to add multiple tables
Providing a short text prompt to the AI will let it suggest a suite of tables which will comprise a complete system.
For example, asking for a ‘Gym Membership system’ might result in tables for
- membership types
- members
- subscriptions
- payments
- classes
- class registrations
- trainers
- trainer schedules
- equipment
- equipment usage
Agilebase will create all of these tables for you.
To start this process:
- On the homepage, click the ’toggle’ button in the top-right of the screen to enable development mode (if it is not enabled already)
- Press AI: Create System at the top, then enter a short (or more detailed) description of what you’d like to create
Note that the prompt you provide, along with a list of existing tables in your system (so duplicates can be avoided) will be sent to the third party AI provider. Please check that you are happy with their privacy policy
Adding a single table
- On the homepage, click the ’toggle’ button in the top-right of the screen to enable development mode (if it is not enabled already)
- Click + Table, choosing a name for the new table
You can change the table’s name and add a longer description under Help. This description will be used as help text in the user interface.
Naming tables
When naming a table, it’s best to use a plural form. Also avoid filler endings like ‘info’ or ‘details’. So rather than ‘company info’, you might call a table ‘companies’.
The reason for this is that the user interface will automatically convert plural names into singular forms where appropriate. So for example if there’s a plus button on the screen to allow the user to add a new record in the table, it will automatically recognise the table and title the button Add Company.
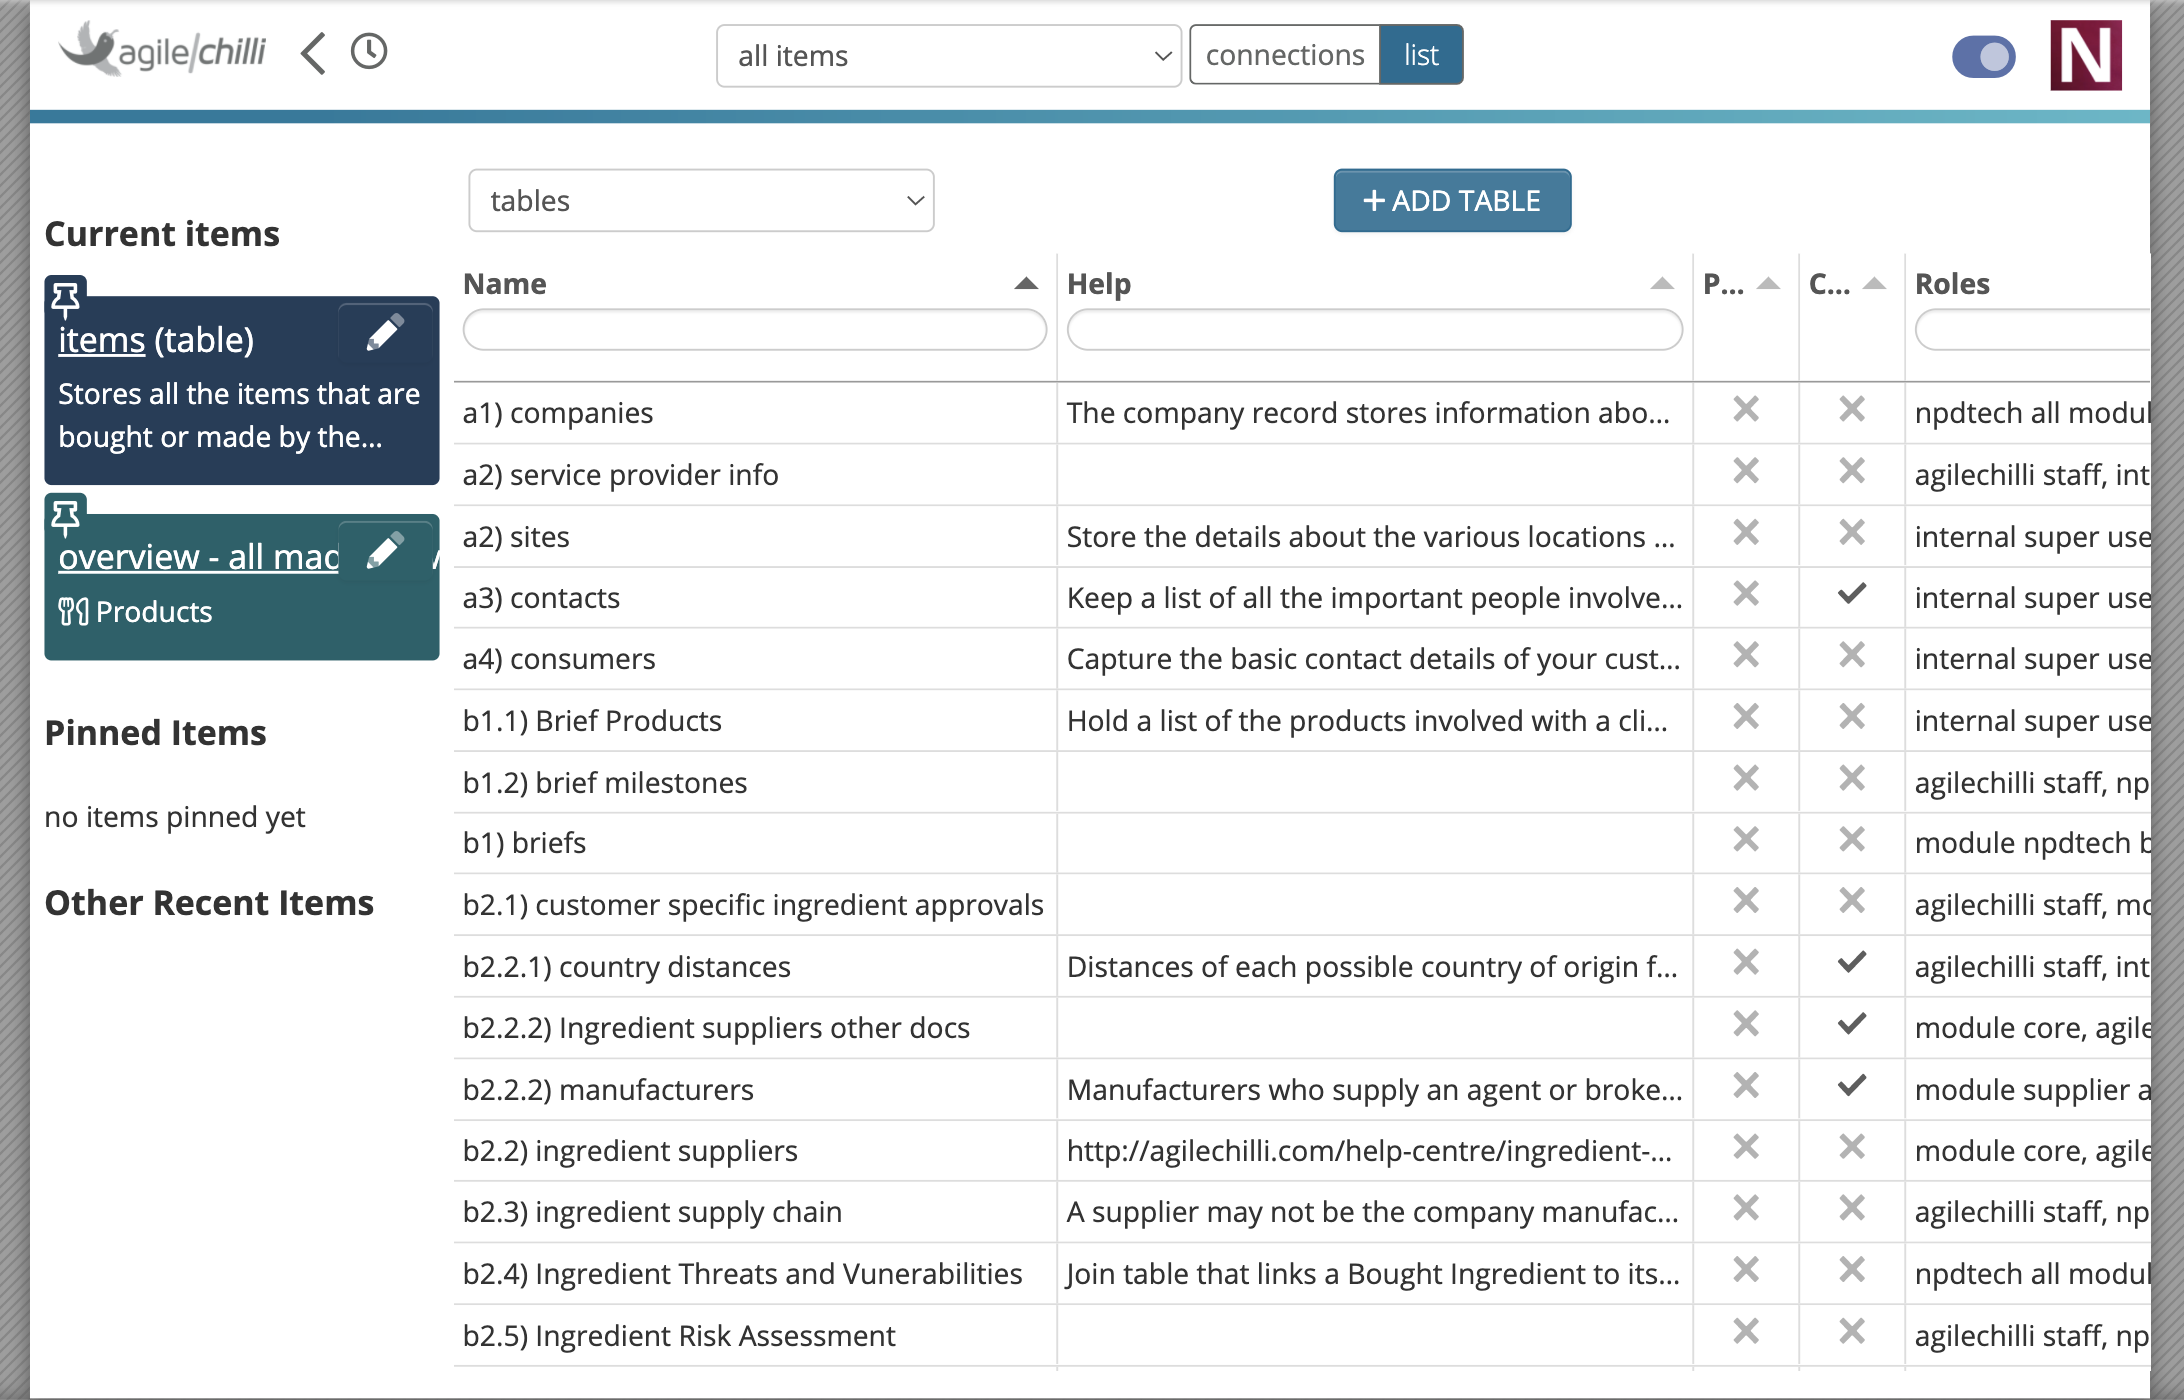
If you build a large system with lots of tables, you may find it a good idea to prefix table names using a numbering/lettering system e.g.
a) table 1
b) table 2
In the administrator interface, tables are listed alphabetically, so you can arrange the tables into a logical order with this method.
The user interface will strip out any prefixes when displaying names to users, if they end with a closing bracket ).
Editing a table
There are two ways to edit a table: from the homepage, or from editing a record.
From the homepage
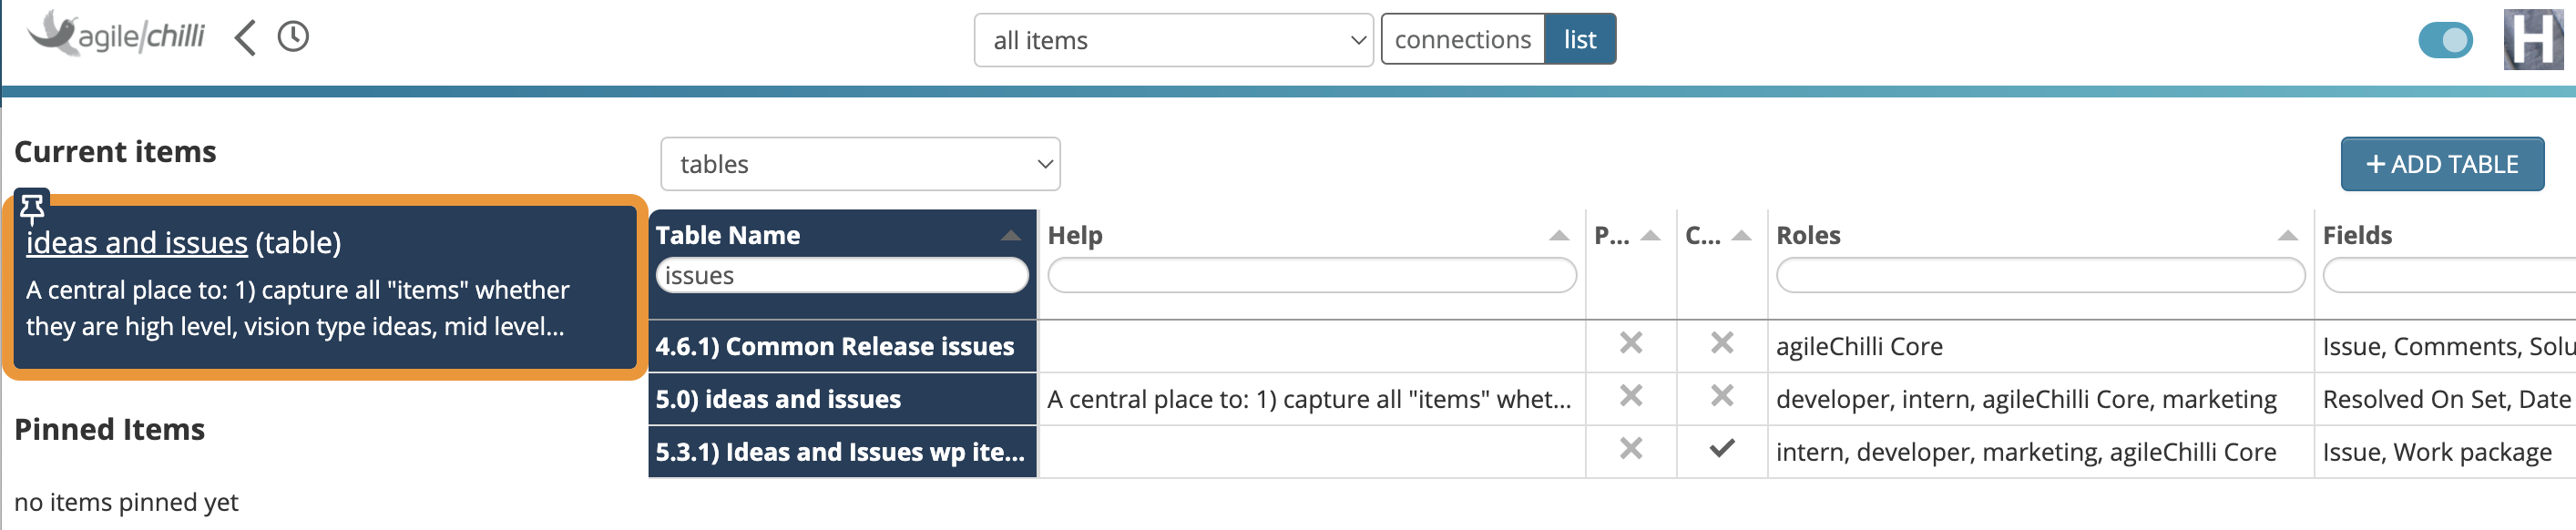
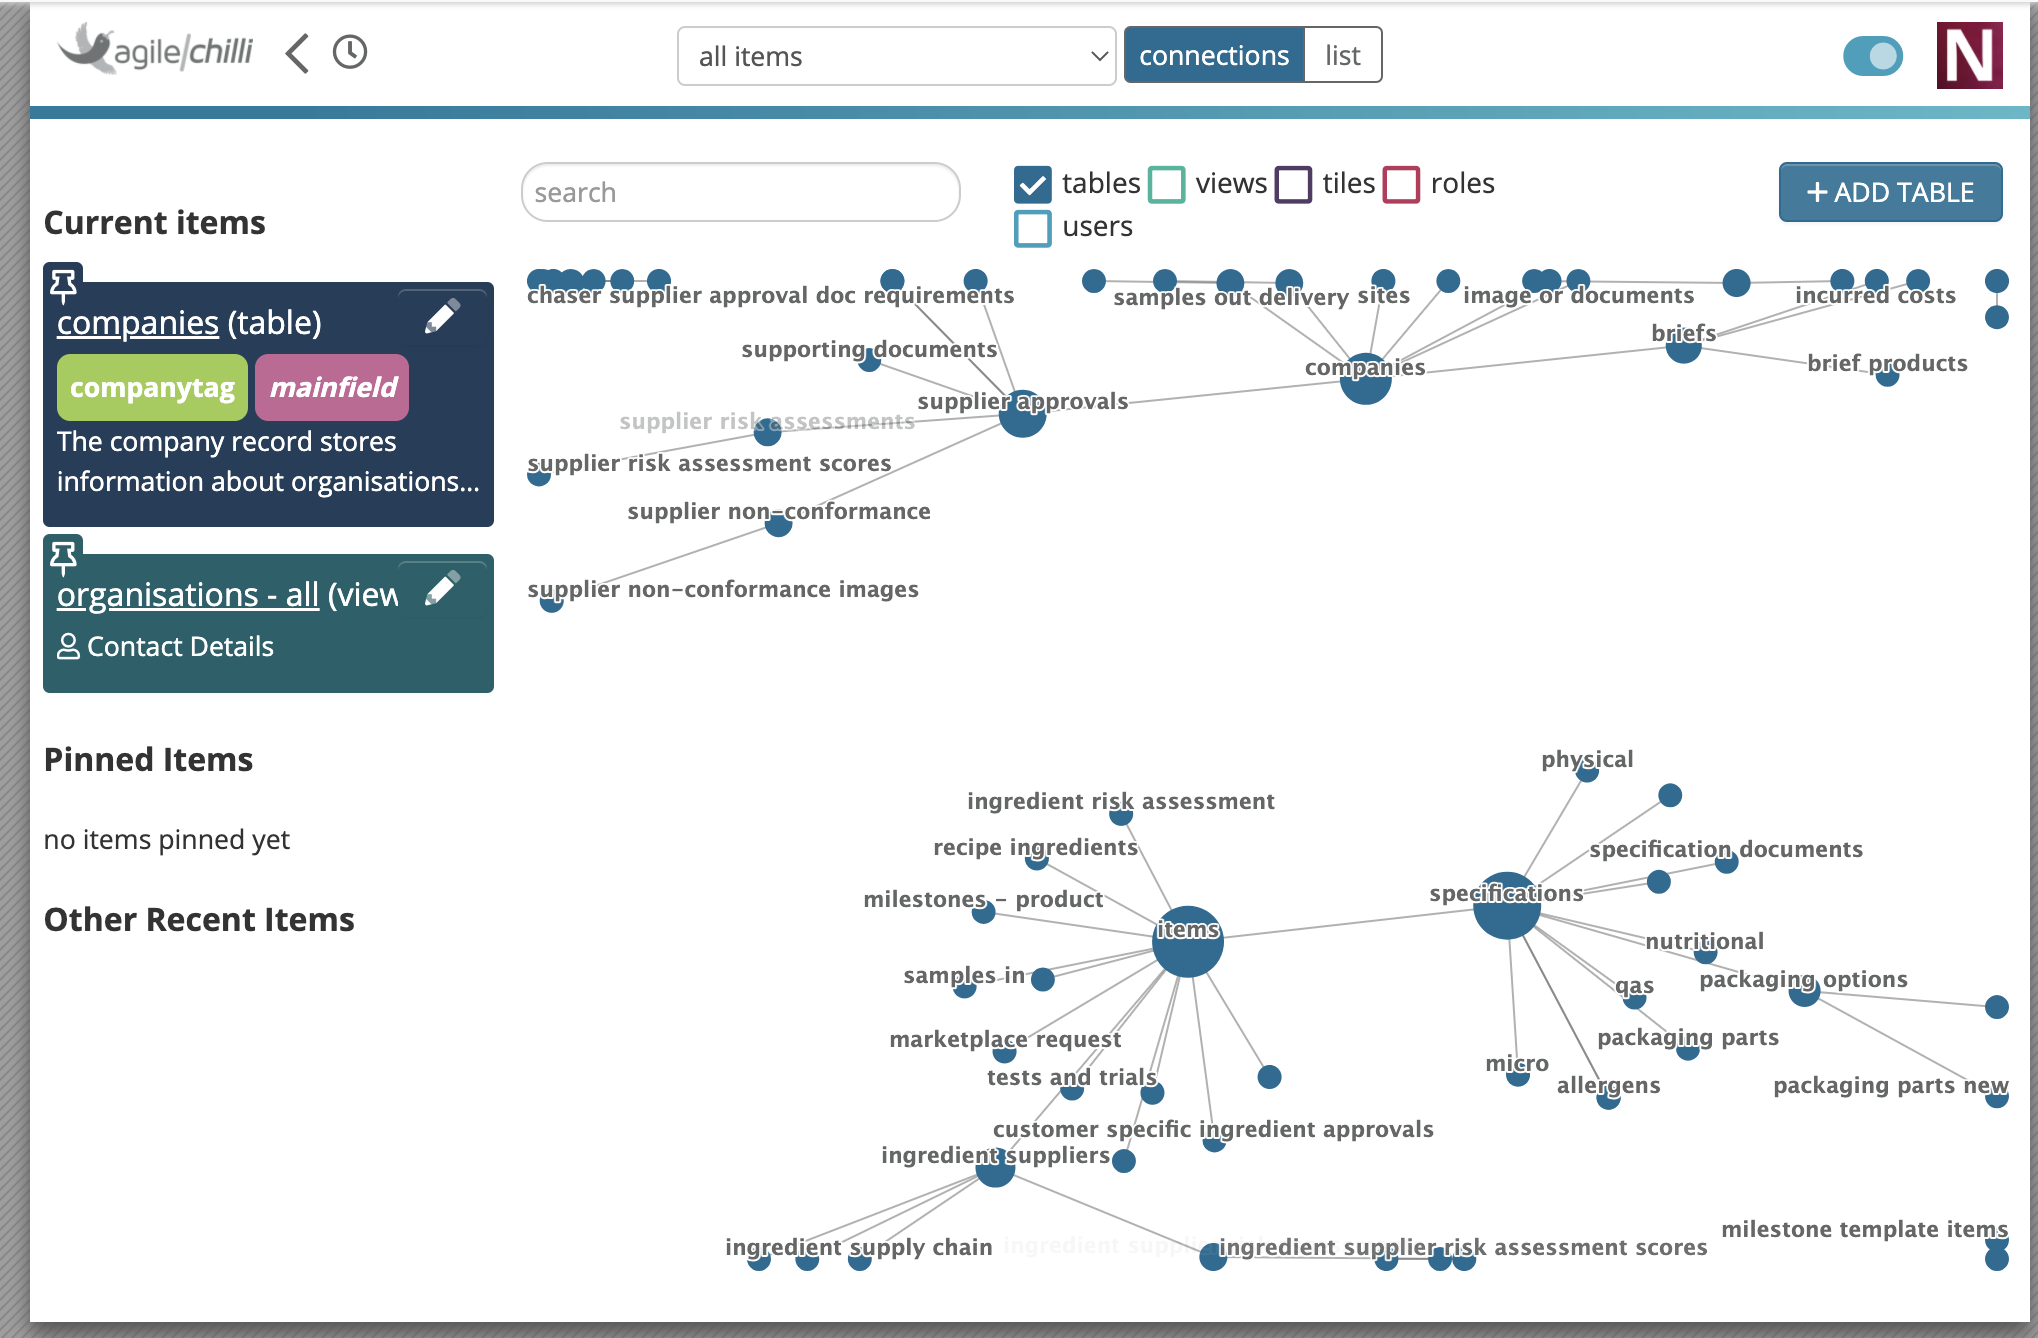
When you toggle development mode with the toggle in the top right corner of the screen, you can see a Map and List items: the Map shows tables and relations between them, the List can show tables and also other entities, like views or users.
From either display, you can click a table to edit it. Once open, you can also pin tables with the pin icon at the top left of the editing panel. The table will then appear ‘pinned’ to the lefthand side of the development homepage and will remain there until unpinned, or you log out. This can be useful when working with a number of different tables.
From editing a record
When build mode is enabled, if you are viewing an individual record then clicking the big pencil at the top left of the screen lets you edit the underlying table.
Adding fields
Once the table is created, you can use the AI to populate it with a set of relevant fields, or add each field you want individually.
The AI will also link your table to other existing tables, where relevant, by adding relation fields.
Removing a table
Before removing a table, you first need to remove all views and fields.
It’s not necessary to remove actual data records from the table first.
A list of existing views is visible in the name and views section of the panel sidebar. Visit each view and delete it.
Then below to the table’s name and views section is the fields section. Delete all the existing fields from here.
When you’re done, you can click the Remove table button in name and views.
When deleting views and fields, you may find you have to first delete other views or fields they depend on. In complex systems there can be chains of objects that need to be deleted in order.
Deleting is a destructive process so is not highly automated on purpose, to avoid accidental deletion. However at each stage you’ll be shown any dependencies which have to be removed first, so you can follow through the chain.
Feedback
Was this page helpful?
Glad to hear it! Please tell us how we can improve.
Sorry to hear that. Please tell us how we can improve.