Development Mode
As a no-code platform, Agilebase allows you to easily construct (and later de-construct or ‘refactor’) and change your software.
Toggling development mode on and off
To get started, you need to toggle from ’normal’ mode to ‘development’ mode.
You can do this wherever you are in the system and you will switch to building or developing the item you’re looking at. The three main areas this covers are:
- The homepage. Toggling to development mode on the homepage shows an overview of everything in the system - tables, views, tiles, roles and users can all be listed and edited. Furthermore, the connections between different objects can be shown. More advanced users will typically use this area, when working on larger systems.
- In a view. When a view is open, toggling development on will let you edit that view - to add or remove fields and calculations for example.
- When viewing a record from a table, toggling development on will let you edit that table, e.g. to add/remove fields.
When development mode is on, pencil icons will appear next to every object which can be edited: for example, next to every field and tab in a table record.
When editing views and tables, the large pencil at the top left lets you edit the object as a whole, as opposed to a field or a tab in it.
Development mode can easily be toggled off again when you’re done and the user interface will switch back to ’normal’ mode.
Using editing panels
When development mode is on, clicking any of the pencil icons on screen will open a panel allowing you to edit the item it’s next to. The panel can be dragged to move it around the screen if you want to see what’s underneath. Whenever you make a change using the panel, the display underneath will update, allowing you to see the effect your changes have in real time.
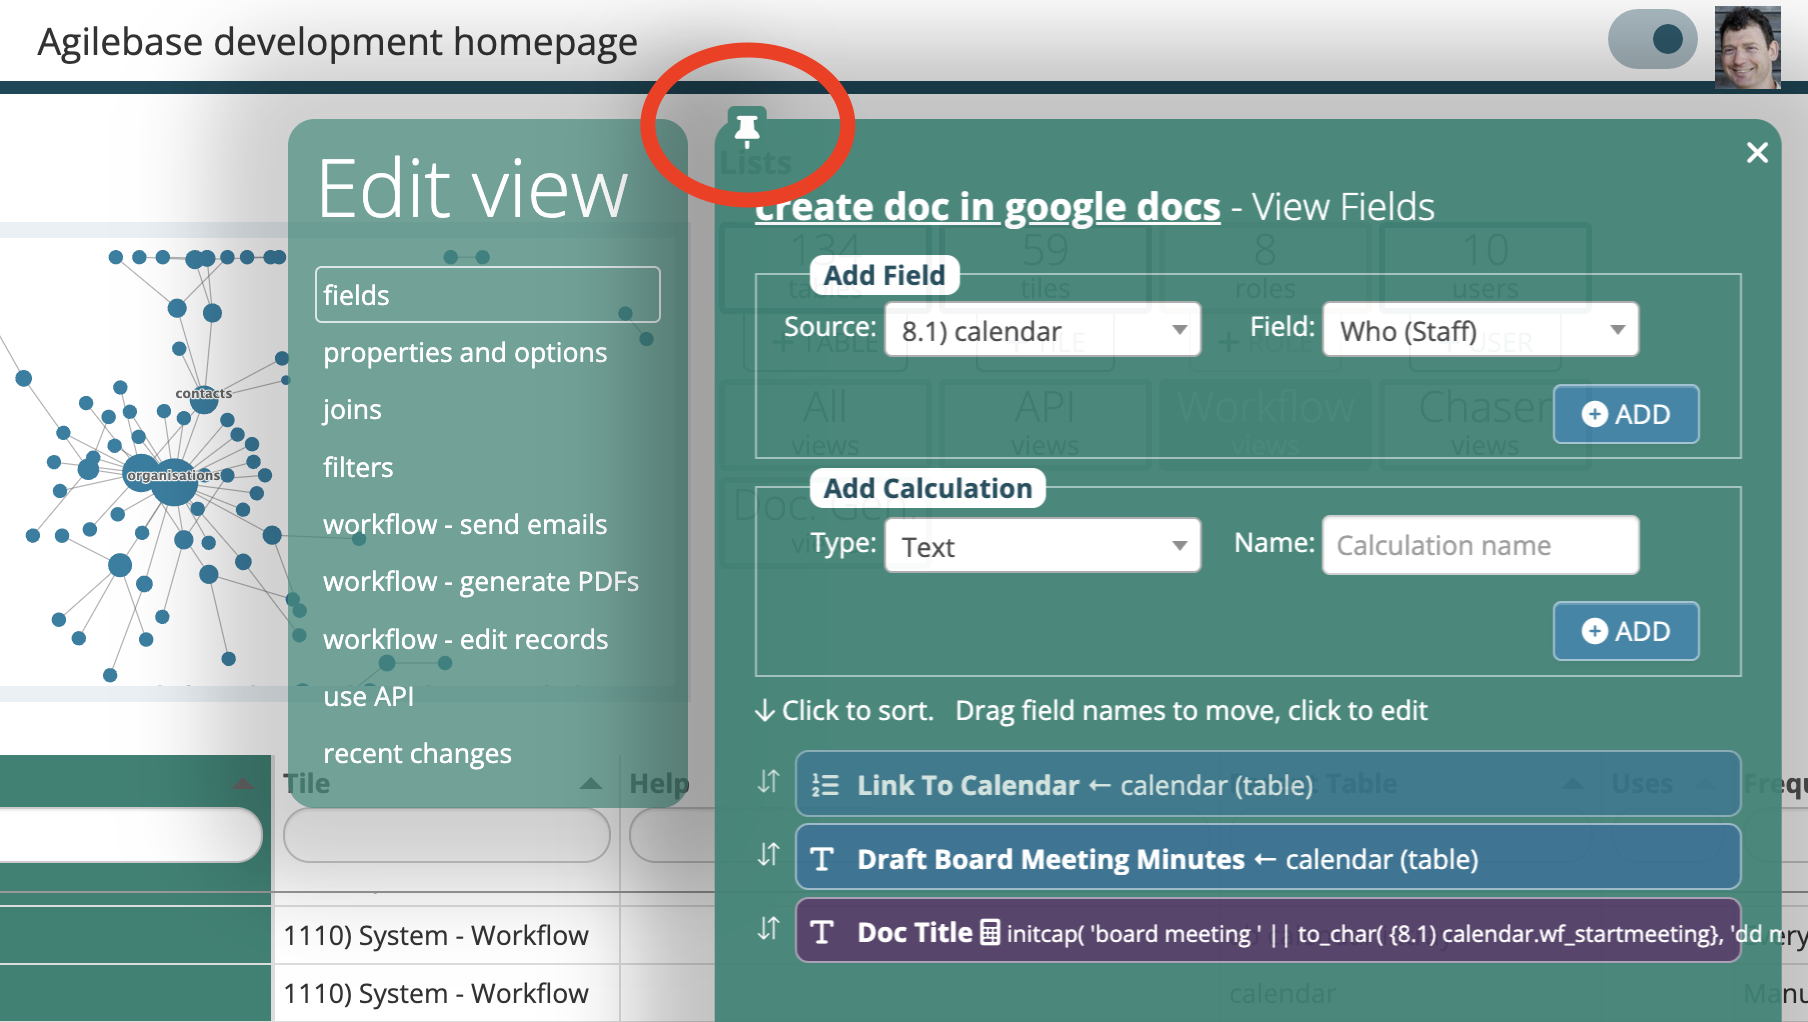
Here’s an example of editing a table and view:
and here’s what the development mode looks like on the homepage:
The development homepage
When development mode is toggled on from the homepage, the development homepage will show. There are three main areas:
- The lefthand sidebar: this shows any objects (tables, views etc.) you’ve been working on recently, for quick access, or any that you have ‘pinned’ (see below)
- The map: clicking this diagram shows the connections between tables in the system, i.e. the relations between them. Clicking a table opens it for editing.
- Lists: to the right of the map, at the top, is a set of boxes which each load a different type of object, i.e. tables, tiles, roles, users and different categories of view. Clicking on each will load a list of objects, so you can see full details, edit and delete them.
Under Lists, one special item is ‘history’. That gives you a list of all the recent changes made anything in the system - table, view or role for example.
In the lefthand sidebar, if you hover over a table or view, as well as being able to edit it, an option will appear to show the connections to other options. That will load a subset of the map, including only items which are related (via relation fields for table, or joins for views) - multiple levels of relations are displayed.
Pinning objects
When you have an editing panel open, e.g. by clicking on an object from a list (see above), you can ‘pin’ it by clicking the pushpin icon at the top left of the panel.
Pinned objects remain on screen for quick access at the top of the lefthand sidebar. They will also be remembered if you log out, for the next time you log in.
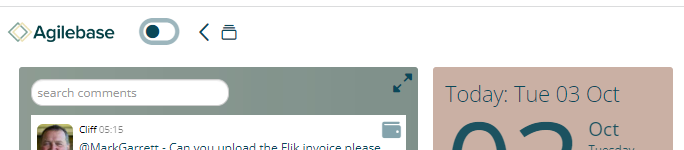
Pinned objects can also be quickly accessed at any time, even if the development homepage is not open, using the history menu in Agilebase’s top toolbar which is always present. The history icon is just to the right of the ‘back (<)’ button.
Accessing additional debugging information
Later on down the route of creating applications, you may wish the user interface to show additional information, specifically in views, to show the primary key values for each record - the internal row identifiers - which are normally hidden.
This can be useful when testing and debugging APIs for example.
To enable this, add &set_context=sysadmin to the URL in the browser. To revert to normal mode, replace it with &set_context=business.
Feedback
Was this page helpful?
Glad to hear it! Please tell us how we can improve.
Sorry to hear that. Please tell us how we can improve.