Tabs
Tabs are one way of exposing relationships between tables, to allow the user to navigate the structure of an application. For example, in a companies table, a contacts tab may show all the people employed at that particular company.
The user interface can display more than two levels of structure on screen in other ways (e.g. showing a menu in a tab) and wherever the user is, they can navigate up or down the hierarchy of data.
Adding a tab
- Edit the table you wish to add a tab to
- In the ’tabs’ panel, select a ‘child table’ in the Add a tab dropdown
Tab types
There are two types of tab, those which show a single record and those which show multiple records.
The type used depends on the relation field in the child table used in the tab, which links to the main table. If it is one-to-one, then a single record is shown in the tab. If it’s one to many, then a view appears embedded in the tab, with which the user can choose a record to edit.
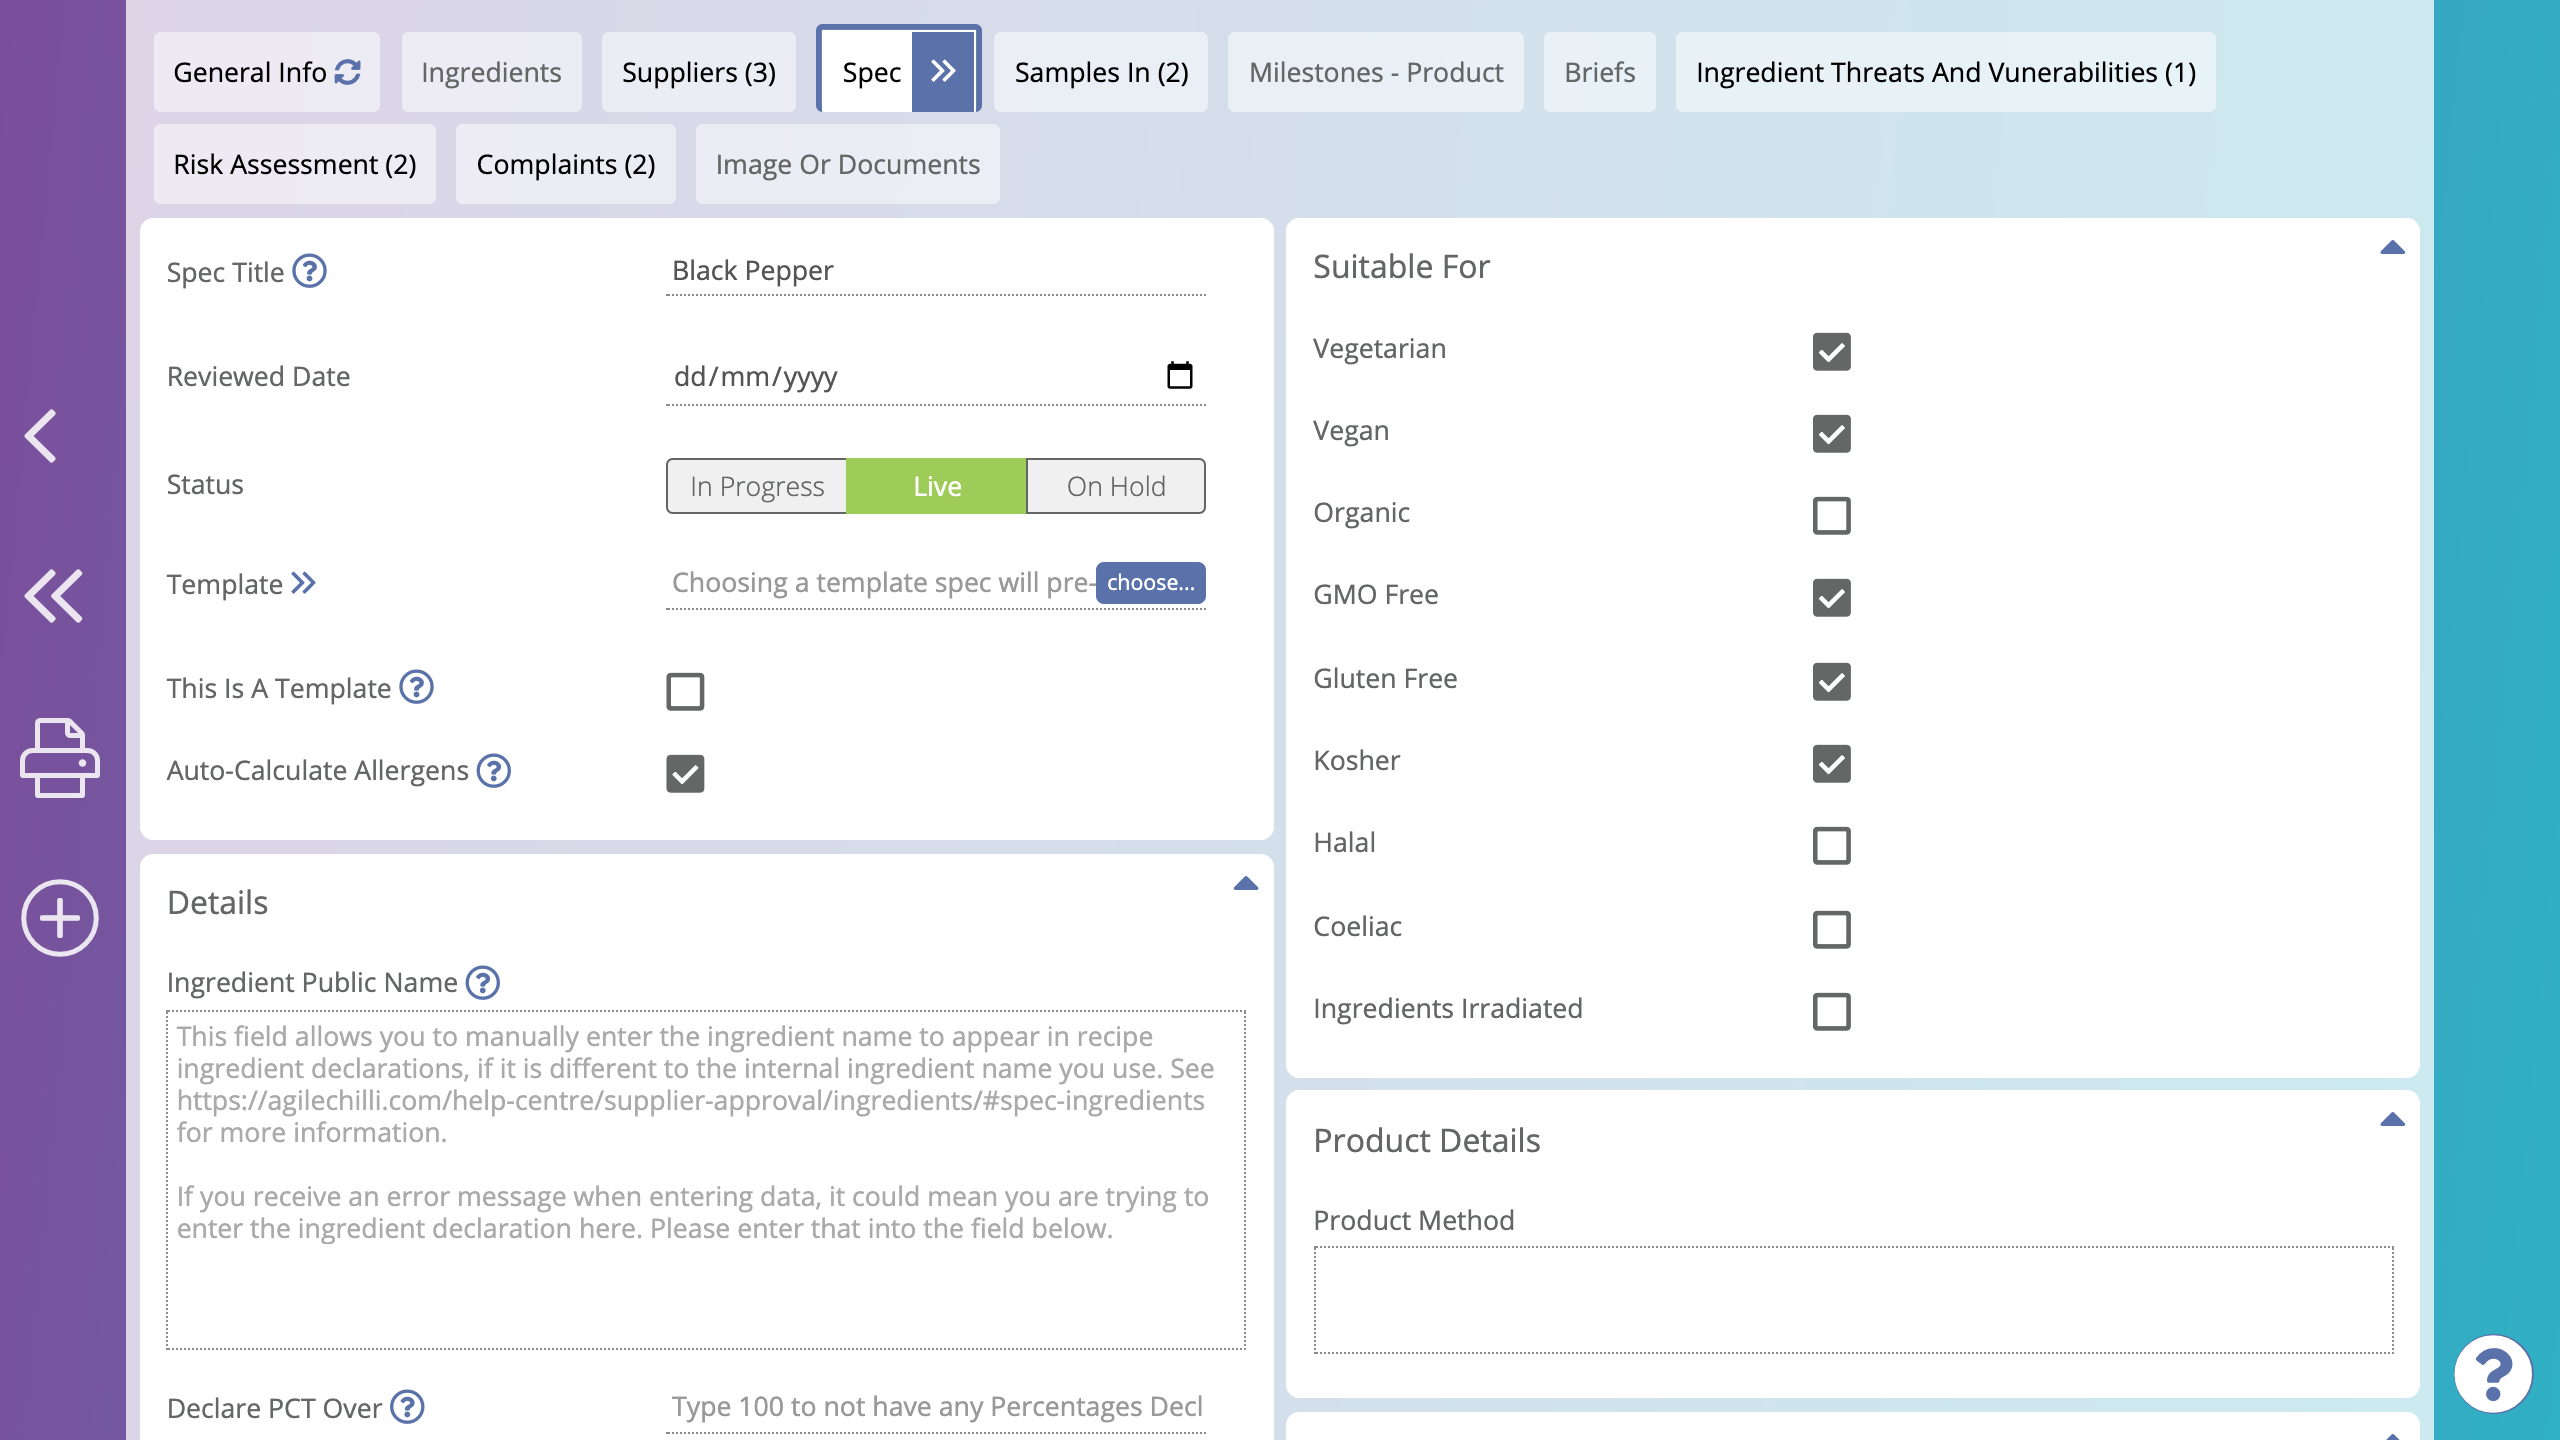
A one to one example may be showing a tab of specification information against an ingredient for example.
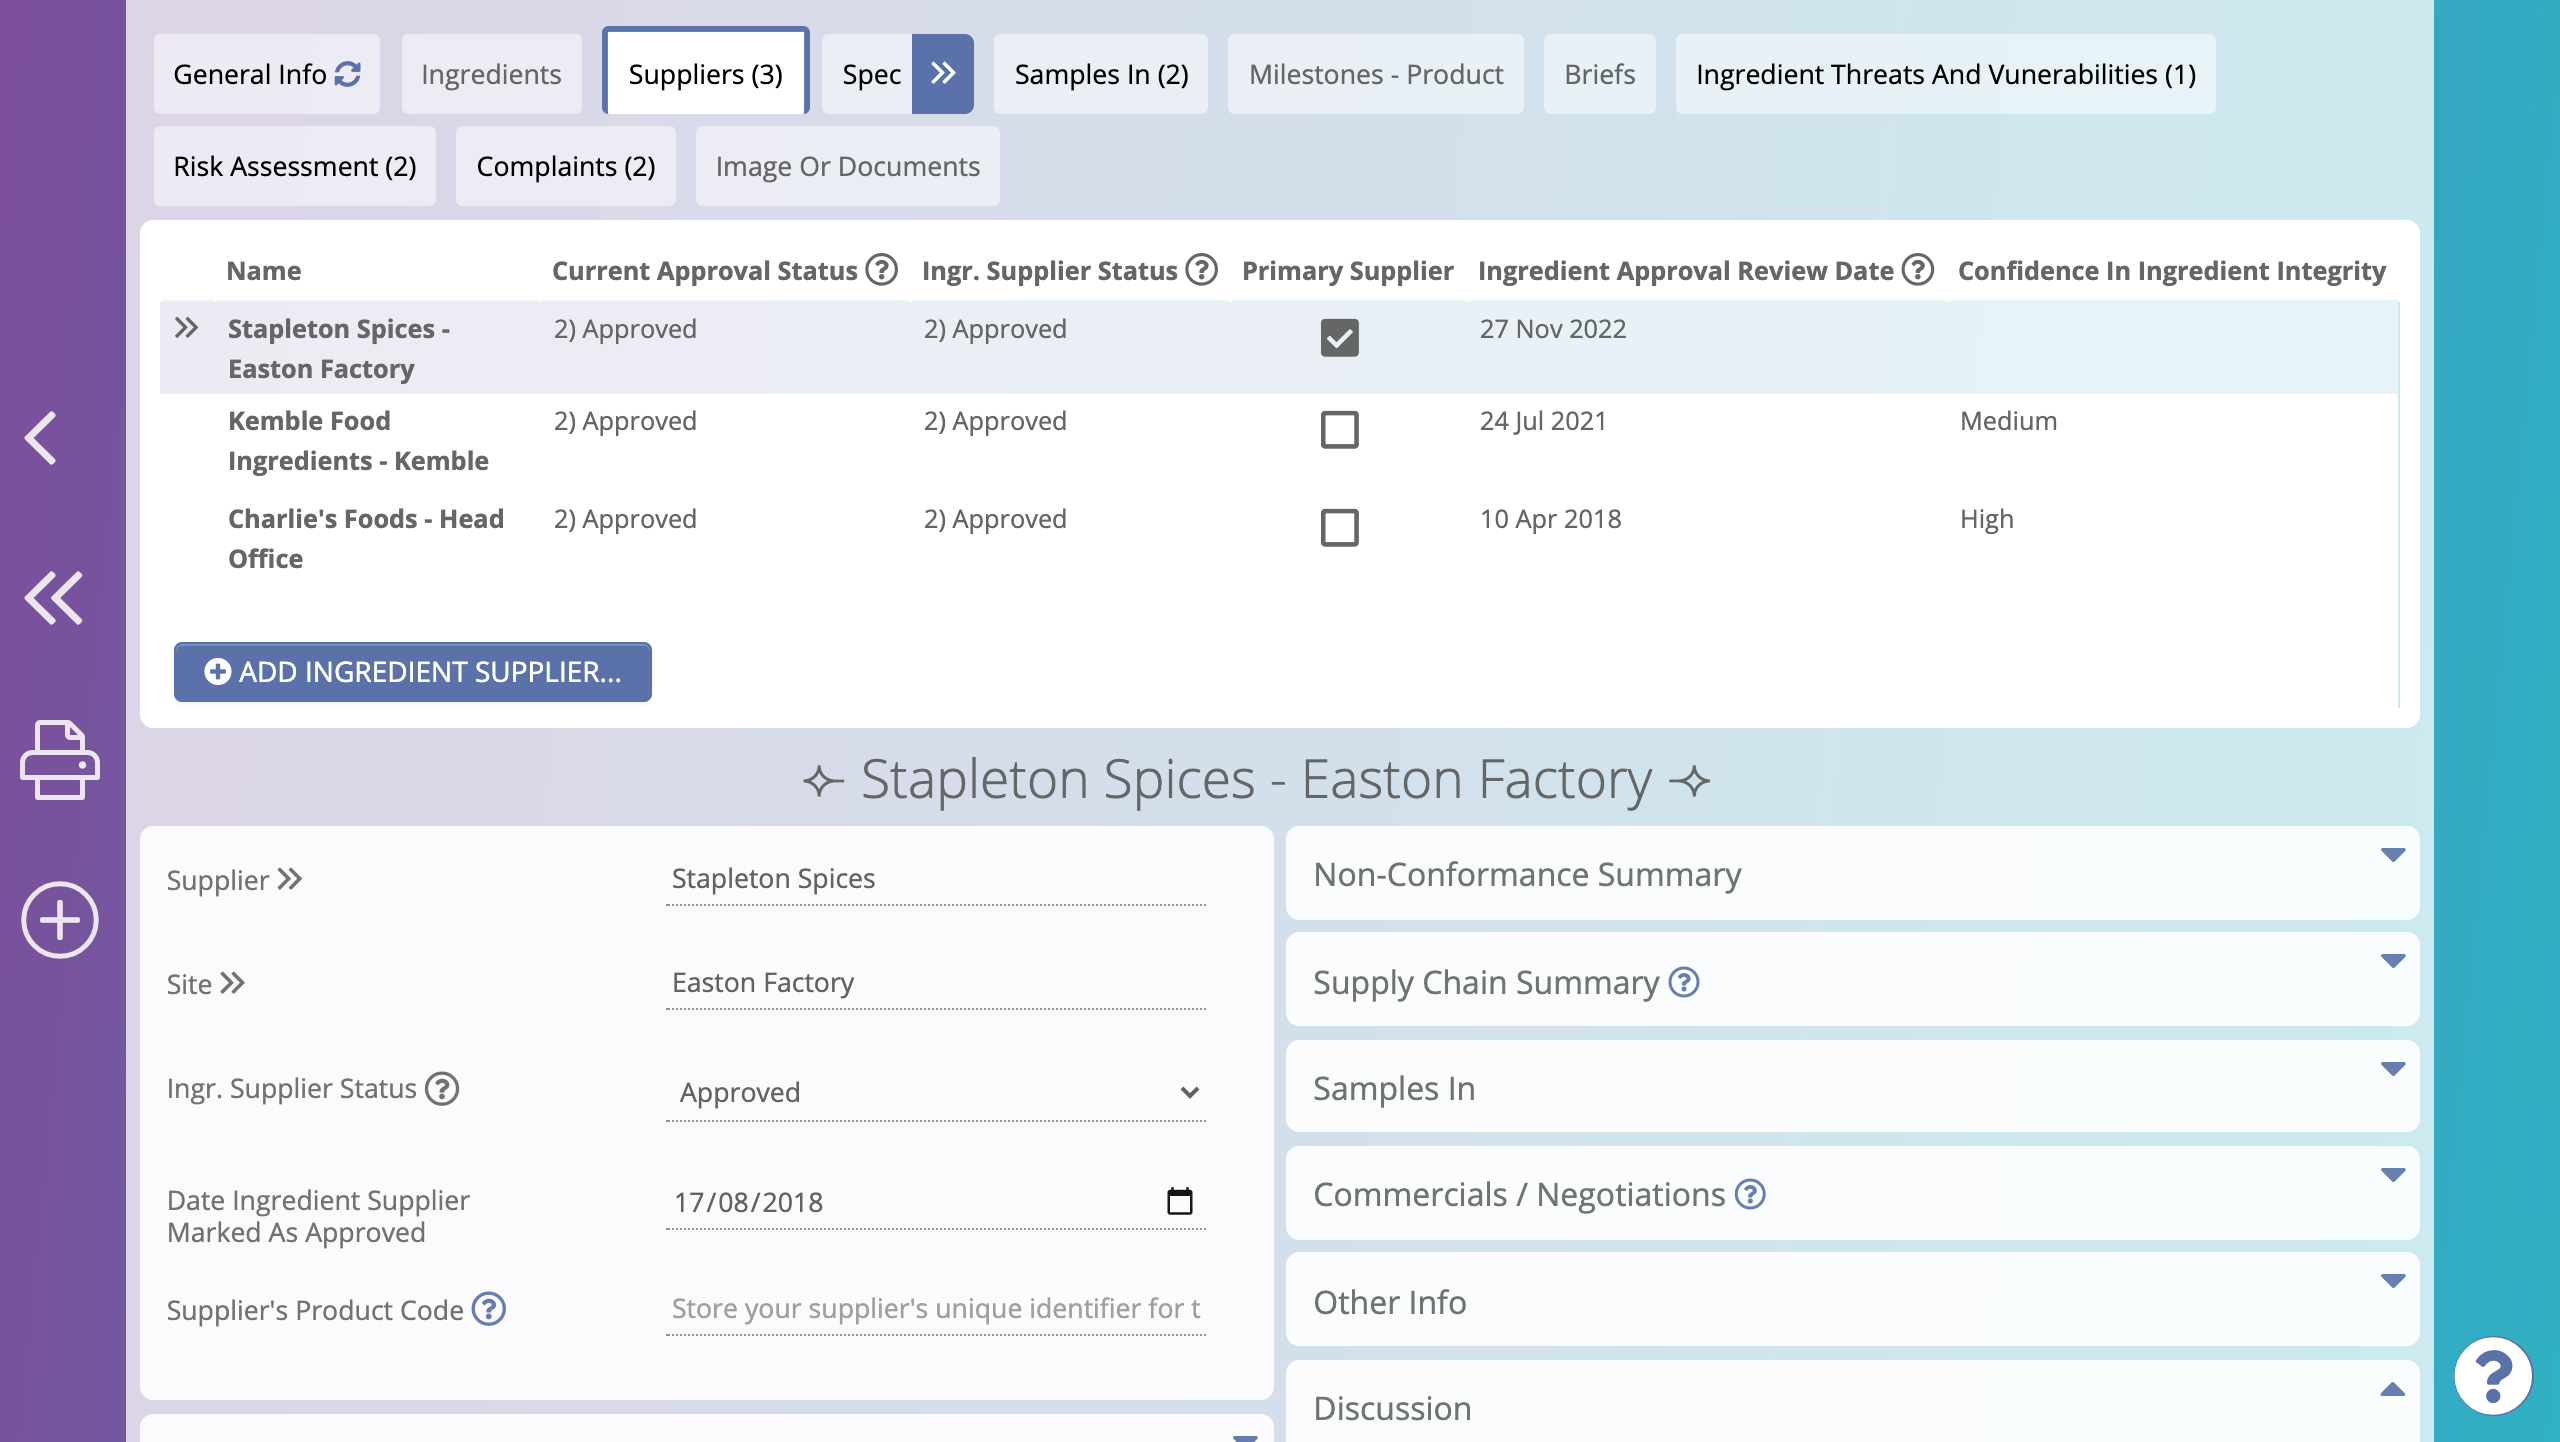
A one to many may be a list of suppliers who supply that ingredient.
Tab options
Typically, these options are only needed to finnesse an application. They can be useful to look at once the core of the structure is built.
Tab view
For one to many tabs, which view to use to show items. By creating a specific view to use for the tab, you can control which fields are displayed in which order, add calculations, filter those which are shown etc.
To use a view as a tab view, it must contain the row ID field of the parent table i.e. the table the tab is present in.
If the view contains one or more charts, those charts will also be shown when opening the tab, filtered to show only data for the parent record containing the tab (in the same way that the records to display in the tab are filtered).
Populate from template
Under a tab, a button allows the user to add records. For example in the contacts tab of an organisation, they would be able to add a new contact.
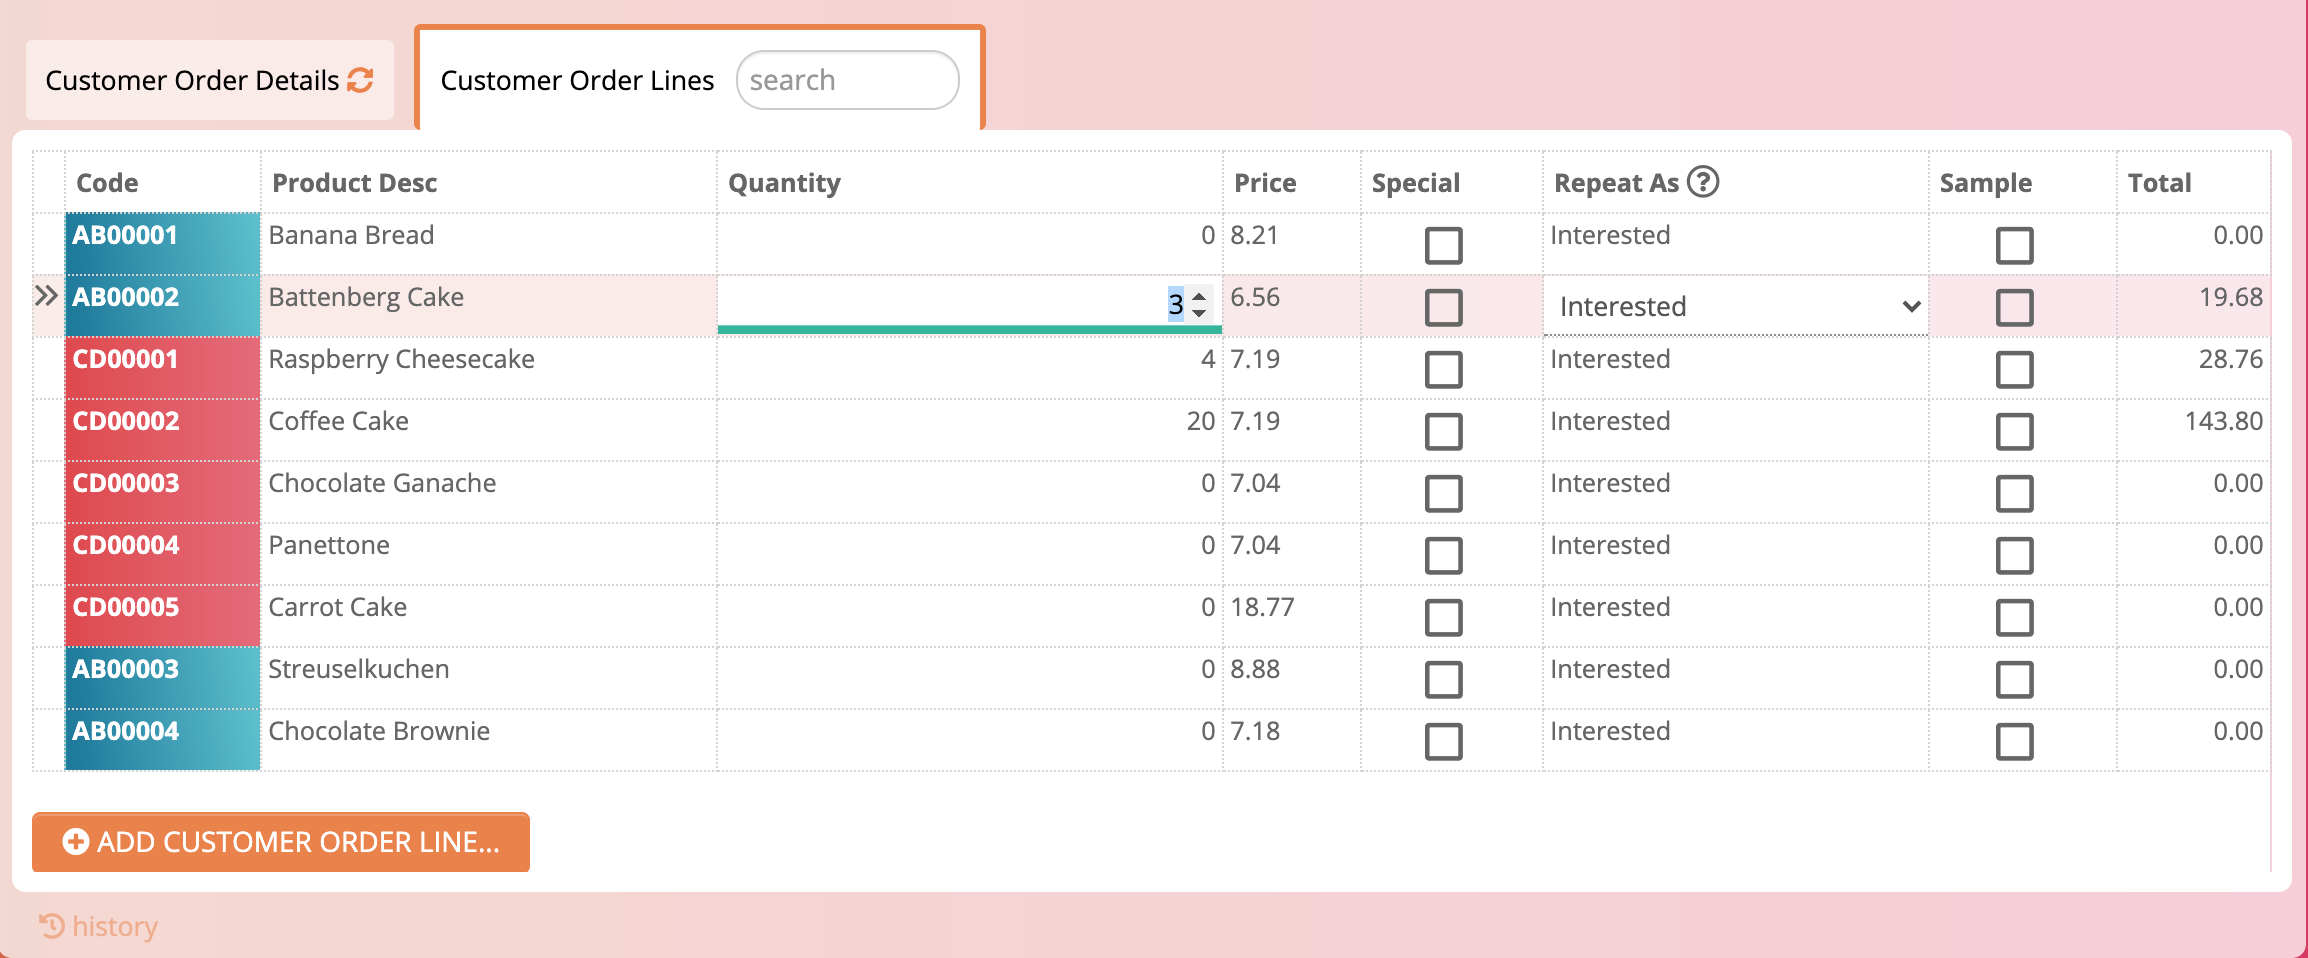
However, in some situations you want to pre-populate the tab with records, rather than make the user create each one manually. An example might be order lines for a customer order in a telesales system. The order lines could be initially pre-populated with regular items the customer orders.
One way of doing that is to use the ‘Populate from template’ view, first creating a new view to use for this purpose. The view must contain the record ID field of the parent table (e.g. customer orders in our example). When the user clicks on the tab, if there are no records present yet, it will prompt to populate the tab. Each row from the view where the record ID matches that of the parent record (cutomer order) will be used to create a record in the tab.
Any calculations in the view with the same name as a field in the tab table will be used to populate values in the records.
Another way of auto-populating data is to use a workflow which runs on record creation or in the background. You can choose whichever method works best for a particular purpose.
Show only if in view
This option allows you to control tab visibility - whether the tab is visible on screen or not at any time depends on whether the main record appears in the view chosen. This works exactly the same way as field visibility
Colour from view
The colour of each tab can be chosen. For example, different steps of a process may each be represented by a tab. Once a step is complete, the tab may be coloured green.
To set this up, create a view from the main (parent) table. It should contain a text calculation called ‘colour’ which outputs the name of a colour e.g. green, or a blank value for no colour. The colour names are the same as those for record flagging.
Name
By default the tab is named the same as the table used. However, you can override that here.
Use inline editing
Speed up intensive data entry by allowing each field in the tab view to be edited inline. Here’s an example using an order processing system.
Show relation fields
If this is un-ticked (which it is by default), any relation fields in the tab table will be hidden. This can be useful if you want to reduce the complexity exposed to the user. They can load all data including relations by navigating to the full record.
Choose a record when a new item is added
Used when a tab shows a join (also called a junction) table. To continue the example from that page, when adding a link between supplier and raw materials, if the raw materials table had a tab showing links, this option would cause the user to be immediately prompted for a supplier when adding a link.
Accept emails from parent table
Redirect any incoming emails to the parent table to be stored in this tab. See table options for details of receiving emails.
Multiple tabs for the same table
A final note about tabs. In a small number of cases, one table A may have two relations to the same table B. For example, a record of a contract between two parties may have a relation to the customer and supplier, both of which are records in an organisations table.
In this case, you may want to add two tabs to the organisations table, one to show contracts for which a particular organisation is a customer, another for which they are a supplier.
You can do that - just add two tabs for the same table. The system will use the first relation it finds for the first tab, the second for the next.
Another example is a recursive Bill Of Materials (BOM) system where a join table may link to a parent item and a child item.
Feedback
Was this page helpful?
Glad to hear it! Please tell us how we can improve.
Sorry to hear that. Please tell us how we can improve.