Tiles
A tile on a user’s home screen represents an application or module of an application - a collection of data and functionality that forms a coherent whole.
There are four types of tile, each of which present data in a different way.
- Data tile
- the most common tile type - from the administrator’s viewpoint this is a collection of views. The user can navigate the views, search for data, edit records etc.
- Image / document library
- a type of data tile. Views which contain a document field can be displayed in ‘card’ format to show large document previews, rather than the usual ‘rows’ format
- Calendar
- can display any views in the system containing date/time fields in calendar formats, such as a standard month layout, or gannt-like chart
- Comment stream
- brings together everyone’s comments (that a user has privileges to see) from everywhere in the system into one place. The newest comments are shown in the tile on the user’s homepage. Clicking on a comment loads the record it’s attached to
Data tiles need to be created by an administrator. Once a data tile is created and filled with views, it can be added to a user’s screen either as a standard data tile or, if the views contain document fields, optionally as an image/document library tile.
Other types of tile i.e. calendar, visualisation and comment stream tiles need not be created by an administrator, they are built-in facilities of the platform. Each of these tile offers different ways of seeing data collected from across the system. As such they are automatically available to add to a user’s screen.
Creating a tile
- Go to the homepage and toggle development mode
- Click the ‘+ TILE’ near the top right of the screen
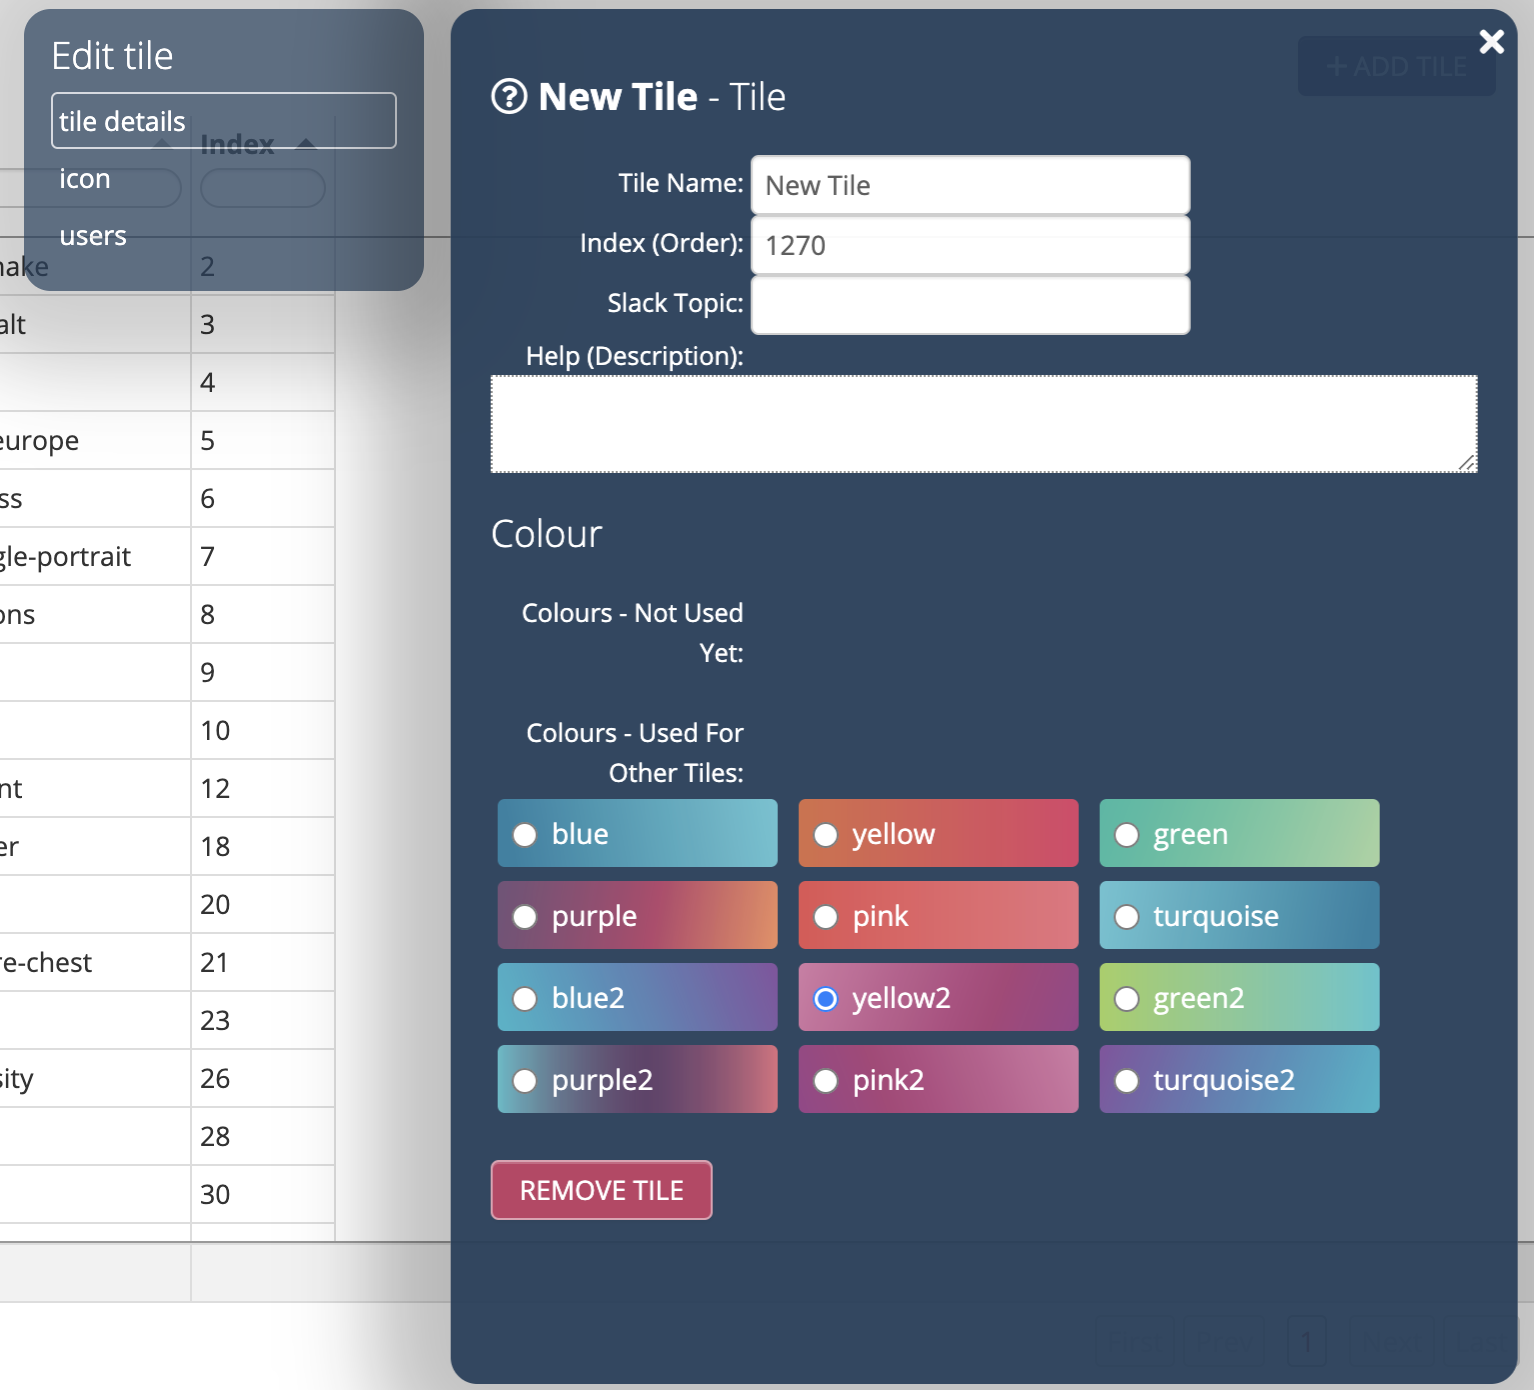
You should now see an editing screen with the details of the tile you just created.

The available options are
- Name - the tile name
- Section - optional. If you have a large number of tiles, you can organise them into sections - see below.
- Index - affects the order of tiles on screen, lower numbered tiles appear before higher
- Purpose - can be used as help content to tell users about this tile
- Colour - the colour will be automatically chosen to avoid as much colour duplication as possible, however you can manually change the colour if you like, e.g. to organise similarly themed or related tiles together visually
- Icon - a tile icon can be chosen from the icon panel
Sections
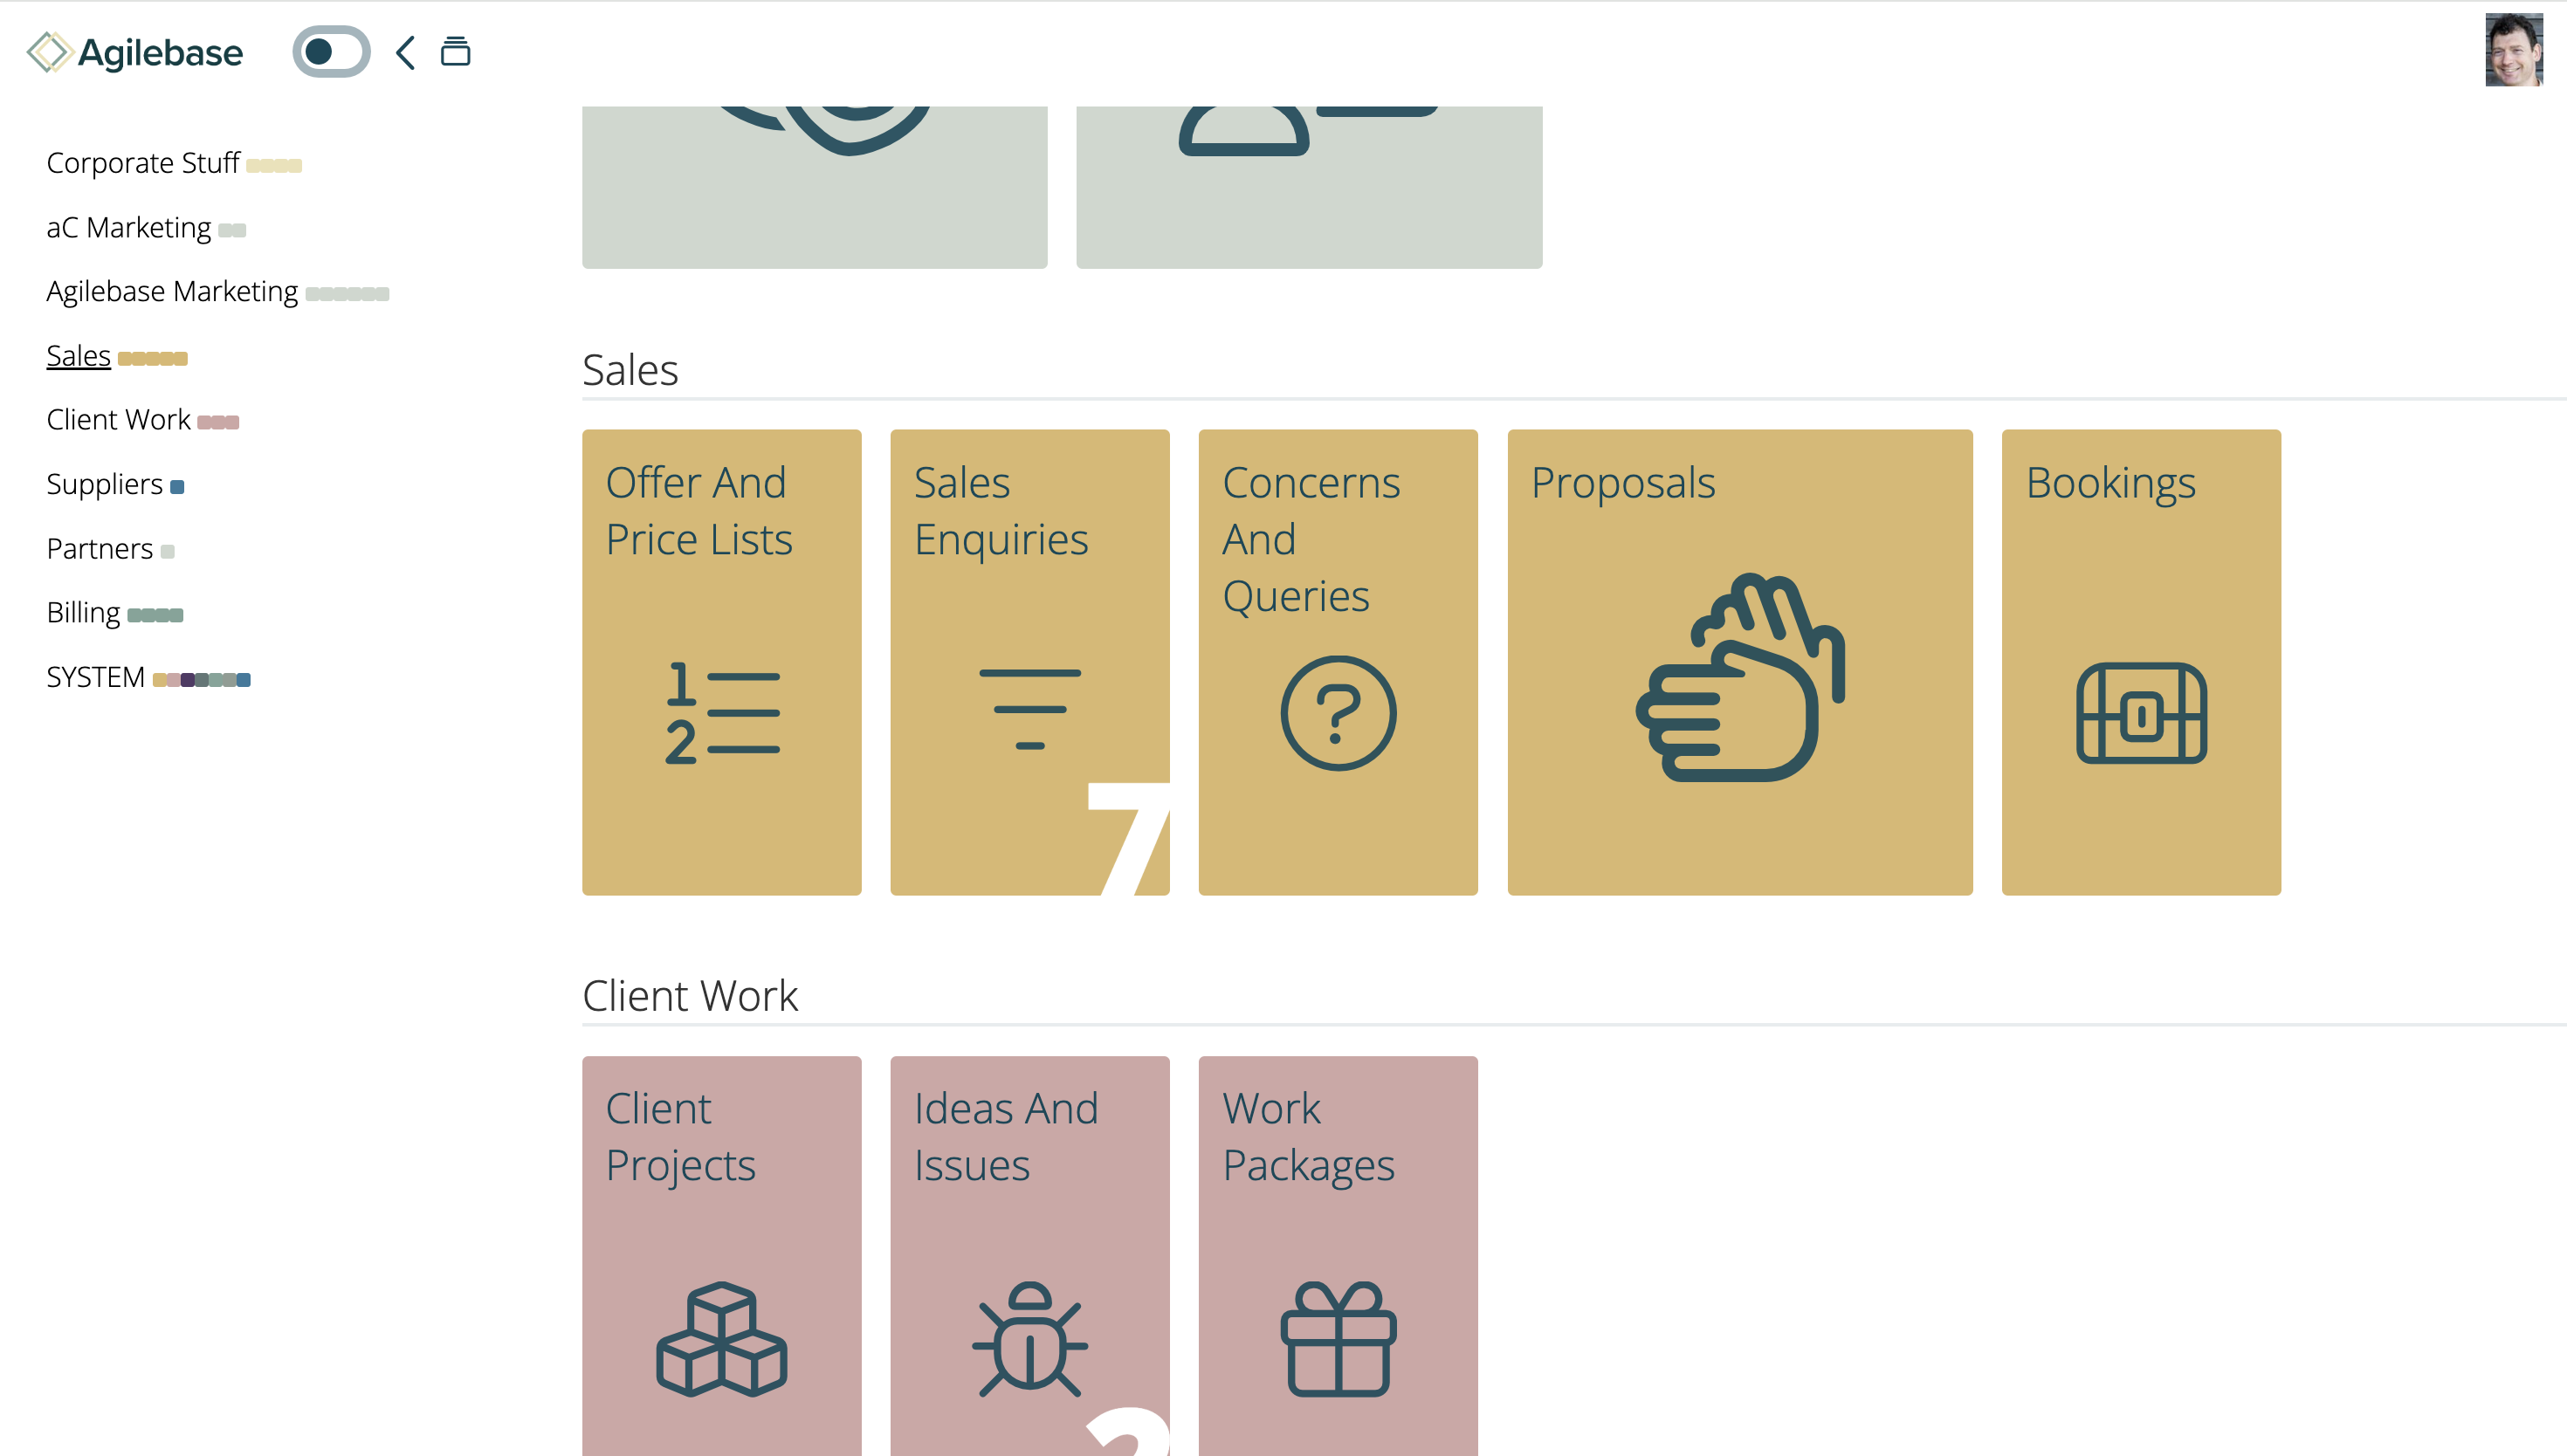
If you give a tile a Section name, a section heading will be displayed above that tile, forming a block of tiles. You don’t need to set the section name for every tile, the section will last until you fill in a different section name for a following tile.
Here’s what sections look like on screen - if there are four or more, a navigation menu appears to the left of the tiles.

Adding views to a data tile
Data tiles need to contain one or more views to be useful. If you have no tables or views yet, you may want to check out the Quick Start Guides, or see Views for full details on view creation.
When editing a view, in the properties panel, choose the tile which you want to place it in from the Tile dropdown.
Adding and removing tiles from users
Users can themselves add tiles to their own homepages (unless they have customised UI options to prevent this). However, administrators can also do this for them.
To add a tile to a user
- Go to the homepage and toggle development mode
- Click users. Select the user you wish to edit
- Open the Tiles panel
- Click the tile you want to add
- If it’s a data tile or document / image library tile, you’ll be prompted for the primary view, which is the view that will load when the user first opens the tile. The most commonly used view for the tile is the default.
Auto-adding tiles
Tiles can also be added automatically in bulk by assigning a user role.
When editing a user, click the Roles button. Next to each role listed is a list of tiles that will be added to their screen if that role is assigned to them. This is a convenience feature to speed up setting up their home screen. The tiles shown for a role are those which more than half of the members of that role have (tiles which the user already has aren’t listed).
After assigning a role, if any tiles aren’t needed for a particular user, they can be removed from the Tiles panel for that user.
System tiles
As an administrator, you will likely create a number of views which aren’t meant to be directly visible by users, but which are for the internal workings of your applications. For example, workflows, tab views etc. - see Views - Special Uses
To prevent users seeing these, you can put then in system tiles. A system tile is simply one which has a name starting with the word ‘System’. These will only be visible to administrators. You may find it a good idea to create a number of System tiles for organisation purposes.
Feedback
Was this page helpful?
Glad to hear it! Please tell us how we can improve.
Sorry to hear that. Please tell us how we can improve.