PUSH API - proactively post data from Agilebase to third party systems
- Firstly, create a view which contains the data you wish to send
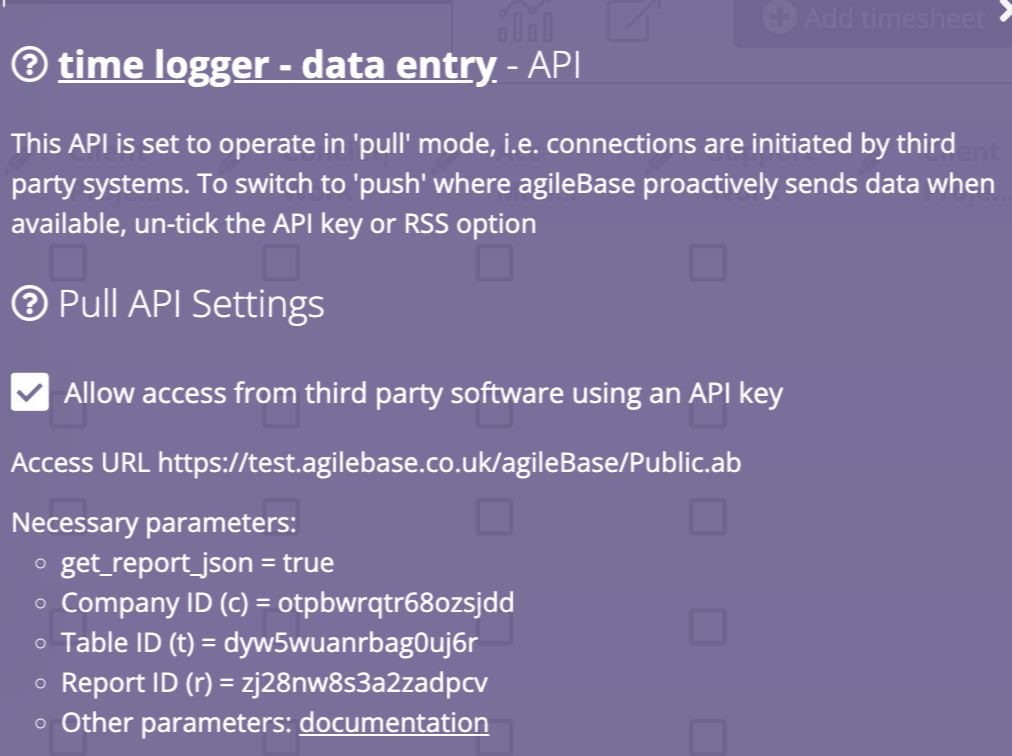
- In the ‘Use API’ panel, enter a URL into the Push URL field. This is the URL that Agilebase will POST to when there’s new data.
- In the dropdown under that, Log time of push to, create a new date field (or choose an existing one). The API will update this field in a record when that record is included in a push to the external system The system will now make a POST to the URL specified in step 2 whenever there’s new data to send. It will contain a JSON representation of all the data in the view.

The data posted will be a JSON array of objects, each object representing a row in the view.
Options
Specifying the data format
Using the Data Format selector and Generate ‘simple format’ options in the API panel, you can choose various formats to send
Data Format = JSON content body (Zapier compatible)
This is obviously what to choose if sending to zapier.com, but there’s nothing stopping you from using if for other systems too.
The contents of the view are posted to the URL as JSON, as the body of the HTTP request.
The body (JSON) will consist of two properties, ‘fields’, listing the field names and types and mapping them to internal field IDs, then ‘data’, an array of objects, one for each row. Here’s an example
{
  "fields": [
    {
      "id": "exampletext_yhgfwesdf",
      "name": "Example Text",
      "desc": "Example description for the first field",
      "datatype": "VARCHAR"
    }, {
      "id": "examplenumber_sdfjbv",
      "name": "Example Number",
      "desc": "Example description for the second field",
      "datatype": "BIGINT"
    }
  ],
  "data": [
    {
      "exampletext_yhgfwesdf": "Some text",
      "examplenumber_sdfjbv": 5
    }, {
      "exampletext_yhgfwesdf": "Some more text",
      "examplenumber_sdfjbv": 100
    }
  ]
}
Generate ‘simple format’
If this option is left un-ticked, then internal field IDs will be used as the property keys in JSON objects representing each row in the view. Internal field names are un-changing but are less ‘human readable’. This is generally the best option to use as it ensures that if someone changes the name of a field in the view, the data structure won’t change.
If ticked, then ‘human friendly’ keys will be used, e.g. a field called ‘First Name’ will be represented with key ‘first_name’. The ‘fields’ array will also be omitted, so the example above would become
{
  "data": [
    {
      "example_text": "Some text",
      "example_number": 5
    }, {
      "example_text": "Some more text",
      "example_number": 100
    }
  ]
}
Data Format = JSON content body (Agilebase compatible)
This is a format used only for pushing data from one Agilebase server to another, please contact us for details if necessary.
Data Format = Form post with data parameter
The JSON is the same, but rather than being submitted as the body of the request, a ‘json’ parameter is submitted containing it.
Authentication
If the third party uses Bearer token authentication, you can specify the authorization key provided by the third party in the API key for Authorization field.
Selecting data to push
How do we know which data is new and wants to be sent out via the API?
That’s up to you - any filters can be added to the view to select data you want. Commonly, you’d use the date/time field set up in step 3. When a push successfully completes, every record in the view has this field set to the current time.
Note: if the push encounters an error for any reason, say the third party system returns a HTTP error code rather than the expected ‘200’ code for success, the timestamp won’t be set.
A few common scenarios would be:
Pushing any data modified since it was last pushed
To do this, add a boolean calculation to your view, something like
needs pushing = {last modified [auto]} > {last pushed}
where ‘last pushed’ is the name of the timestamp field you added in step 3 above.
Then add a filter on the view ‘needs pushing equals true’.
Pushing any new rows that have never been pushed before
The view will actually default to this. It will automatically add a filter on the date field you select in step 3 at the top of this page, so only rows with nothing set for that date will be included.
If you want to cancel this and always send all rows, or a custom selection, just remove this filter and add any specific filters you like.
Pushing only rows not yet marked as received
In some cases, you may want to be even more prudent than using the internal timestamp. The third party system could make a separate API call to Agilebase for every row that’s received, telling it to update the row with an ID to prove receipt. That’s more API calls of course, but some situations may warrant it.
OpenAPI (Swagger) description
You can see an OpenAPI description of the API in the Use API panel when editing the view. The ‘View / download OpenAPI definition of this API’ link will let you access it.
Alternatively, if you don’t have a login for Agilebase, you can call a public URL
whilst also providing the required Authorization header.
Feedback
Was this page helpful?
Glad to hear it! Please tell us how we can improve.
Sorry to hear that. Please tell us how we can improve.